
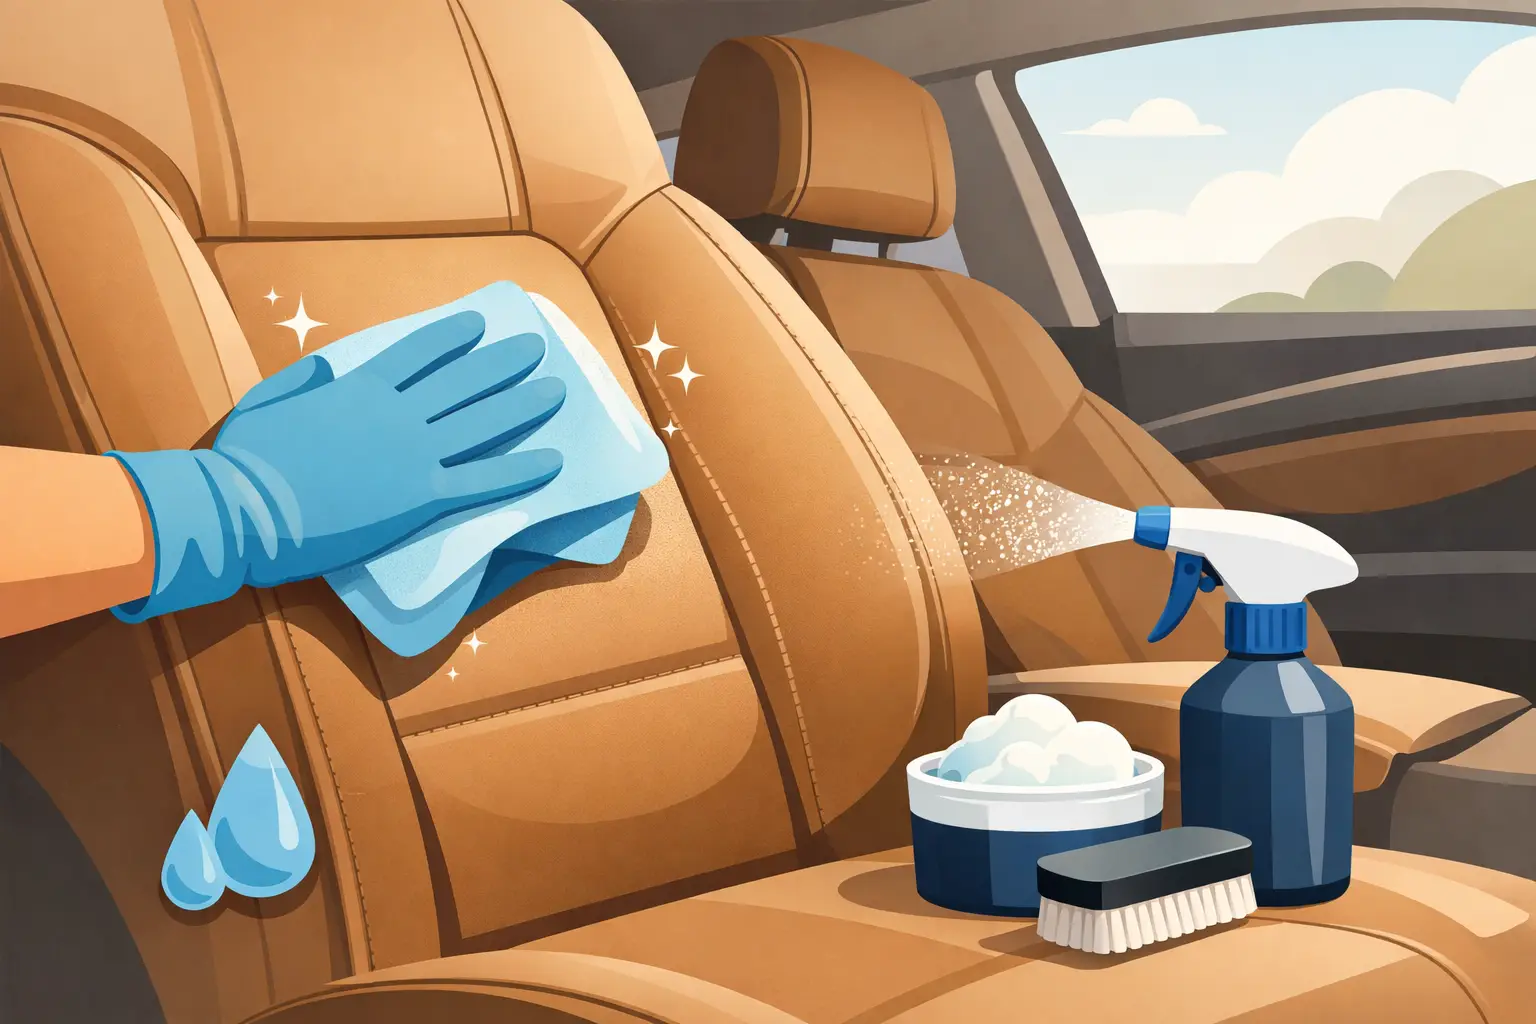
That clean leather smell and smooth, matte finish can make even a high-mileage daily driver feel premium. But learning how to clean leather seats is less about using the strongest cleaner and more about using the right amount of moisture, the right tools, and a little patience. Overcleaning, harsh chemicals, and soaked seams can leave leather stiff, shiny, or discolored – exactly the result you were trying to avoid.
For most modern BMW, Mercedes-Benz, Audi, Tesla, Lexus, Land Rover, and other late-model vehicles, the leather is protected with a factory coating. That makes routine cleaning straightforward, but it also means you do not need aggressive products. A simple, consistent interior-care routine will keep the seats looking sharp for years.
What You Need Before Cleaning Leather Seats
Set yourself up with soft microfiber towels, a soft-bristle interior detailing brush, a vacuum with a brush attachment, a pH-balanced leather cleaner, and a quality leather conditioner or protectant made for automotive upholstery. For light maintenance, a clean microfiber towel slightly dampened with water can handle more than many owners expect.
Avoid household cleaners, dish soap, glass cleaner, disinfecting wipes, bleach, ammonia, acetone, and all-purpose degreasers unless the product specifically says it is safe for finished automotive leather. These can strip protective coatings, pull moisture from the surface, or create a glossy patch that stands out in sunlight. Leather seats are expensive to repair, so the bargain move is choosing a product designed for the job rather than using whatever is under the kitchen sink.
Before using any cleaner, test it in a low-visibility spot, such as the lower side bolster or rear edge of a seat. Let it dry fully and check for a change in color, texture, or sheen.
How to Clean Leather Seats Step by Step
1. Vacuum first, especially around seams
Start with dry debris. Vacuum the seat bottom, backrest, side bolsters, seams, perforations, and the gap between the seat and center console. Sand, crumbs, pet hair, and grit act like tiny abrasives when you rub a towel over them.
Use a soft brush attachment and light pressure. If dirt is packed into stitching or seat creases, loosen it with a dry detailing brush first, then vacuum again. This step is easy to skip, but it makes the actual cleaning safer and faster.
2. Apply cleaner to the towel or brush, not the seat
Mist a microfiber towel lightly with leather cleaner. For textured leather, creases, or visible body-oil buildup, apply a small amount of cleaner to a soft brush instead. You want the material damp, not dripping.
Work one small area at a time: one bolster, part of the seat cushion, or half of the backrest. Use gentle, overlapping strokes with the towel. With a brush, use soft circular motions and avoid pressing hard. The goal is to lift oils and grime from the protective surface, not scrub through it.
Pay extra attention to the driver’s outer bolster, steering-wheel-side armrest, headrest, and seatbelt-contact areas. These zones collect sunscreen, lotion, hair products, denim transfer, sweat, and skin oils faster than the rest of the cabin.
3. Wipe away residue immediately
Follow each cleaned section with a separate dry microfiber towel. This removes loosened dirt and leftover cleaner before it dries on the seat. If the towel picks up gray or brown residue, that is normal on a neglected interior. Switch to a fresh side of the towel often instead of spreading the grime around.
Do not leave cleaner to air-dry, and do not saturate stitching or perforated panels. Excess liquid can migrate into the foam beneath the upholstery, where it takes longer to dry and may cause odor issues.
4. Let the seats dry before conditioning
Give the leather time to dry naturally with the doors open or windows cracked in a shaded area. Direct hot sun can make wet leather dry too quickly and may leave uneven results. If you are cleaning in a garage, a few minutes of ventilation is usually enough after a light cleaning.
Once the surface feels dry to the touch, inspect it in natural light. If a section still looks dirty, repeat the process using another light pass. Two gentle rounds are safer than one aggressive scrub.
When and How to Condition Leather Seats
Conditioner is useful, but more is not always better. Many modern automotive leathers have a protective topcoat, so they do not absorb conditioner the way older, uncoated leather does. A good automotive leather conditioner or protectant can help maintain a smooth feel, reduce friction on bolsters, and add UV protection, but applying it every week can leave residue or unwanted shine.
For a daily-driven vehicle, conditioning every three to six months is usually enough. In hot, sunny climates, or for a convertible and a vehicle parked outside, a UV-focused leather protectant may make sense more often. Vintage cars, classic restorations, and vehicles with older uncoated leather need a different approach and may benefit from products formulated specifically for absorbent leather.
Apply a small amount to a clean applicator pad or microfiber towel, then spread a thin, even layer. Let it sit according to the product directions, then buff off any excess. The best result is a clean, natural satin finish – not a slippery, glossy seat that looks dressed up for the wrong reasons.
Removing Common Leather Seat Stains
Fast action matters. The longer sunscreen, coffee, food grease, ink, or dye transfer sits on leather, the greater the chance it will stain the coating or work into worn areas.
For fresh spills, blot immediately with a dry microfiber towel. Do not rub, because rubbing pushes the spill outward and deeper into seams. Then clean the area with a lightly dampened towel and a leather-safe cleaner.
Blue jean dye transfer is common on light beige, white, cream, and gray interiors. Treat it early with a dedicated leather cleaner and gentle brush work. It may take several passes. Stop if you see color coming off on your towel that appears to be the seat’s finish rather than transferred dye.
For ink, makeup, sunscreen, or greasy residue, use a specialty leather-safe stain remover only after testing it in a hidden spot. DIY fixes involving rubbing alcohol, nail-polish remover, or magic erasers are risky. They can remove more than the stain, leaving a dull or lightened patch that requires professional recoloring.
Mold, deep cracking, paint transfer, strong odors, and heavily worn leather are also situations where a professional detailer or upholstery repair specialist can be the better value. A targeted repair costs less than replacing an entire seat cover.
Special Care for Perforated, Ventilated, and Light-Colored Seats
Perforated leather requires less liquid than standard leather. Spray cleaner onto the towel or brush, never directly into the holes. Keep moisture away from ventilation openings, heating elements, and electronic seat controls. If product gets into perforations, blot it right away with a dry towel.
Light-colored interiors look incredible, but they show transfer faster. Clean the driver’s seat and front armrests regularly rather than waiting for obvious discoloration. Keeping a small pack of quality microfiber towels in the trunk makes quick cleanup easy after beach days, gym sessions, road trips, or messy coffee runs.
Matte leather should stay matte. If your seat starts looking shiny, the cause is often body oil buildup or a dressing that is too heavy. Clean the surface first, then use less protectant next time. A premium cabin should look cared for, not coated.
A Simple Schedule That Keeps Leather Looking New
A quick vacuum and dry microfiber wipe every few weeks prevents grit from building up. Clean high-contact areas about once a month, or sooner if the vehicle carries kids, pets, workout gear, or frequent passengers. Plan a full leather clean every two to three months, then condition only as needed based on climate, use, and the product instructions.
This routine also protects resale appeal. Clean, even leather with intact stitching and minimal bolster wear helps a vehicle feel better during every commute and makes a stronger impression when it is time to trade, sell, or upgrade.
The best time to clean leather seats is before they look dirty. Keep your products simple, use a light touch, and turn a 20-minute interior refresh into the kind of detail that makes every drive feel like an upgrade.